


Nebo - Build and Deploy(API as a Service).
Building and deploying an object detection model & QA powered by GPT3.


Inspiration
Agriculture is one of the major sources of income in 3rd world countries. In the age of AI, we have seen problems like self-driving take priority amongst other cool research, but I haven't seen a good enough solution that helps the average farmer get better yields, understand what is the problem with their crop. I haven't seen other start-ups utilize the power that deep learning can have and integrate the same in their products and help solve an even bigger, broader scope of problems a farmer and the whole agricultural ecosystem has.
For E.g. a food supply start-up can leverage the knowledge (by using a question answering model fine-tuned with agricultural documents) about the treatment of a certain pathogen and supply pesticides back to the farmer while still getting farm produce from them.
This is just one example of a simple use case.
What is Nebo?
Nebo is a noun meaning the Babylonian god of wisdom and agriculture and patron of scribes and schools
This project combines computer vision and natural language processing to give access to anyone interested in agriculture(from agricultural researchers, farmers, and hobbyists).
Using object detection, the prediction and localization of plant disease can be easily detected, and further combining this with question answering model feeding questions about the pathogen, the user gets to learn about what's ailing the crops, how to treat them, and a whole range of other agricultural-related questions.
All this without having to know much about deep learning, with the provided API endpoints integration with any other application or building one from scratch tailored to one's needs is pretty seamless (well, depends on your SWE skills but you can figure it out 😅).
How it's built.
Backend
The backend uses fastAPI, the reason for choosing this is how intuitive and easy it is to just get things done.
It has really good documentation and as an added advantage has a pretty comprehensive cookie-cutter template to get you started on building.
Its "out of the box" interactive API docs that automatically get updated and allow for direct interaction with the API is a bonus
Deep learning models used
Pathogen detection
The object detection model used is a Yolo medium model, medium because the server this is running on is not super powerful so to reduce inference times, apart from using a smaller image size for inference the medium model is also not "CPU heavy".
The reason for going with detection over classification was to have the pathogen indicated on the image passed, the thinking behind this was it can help if a researcher wants to concentrate on the specific part infected, also providing cropped regions of the regions is an added advantage. All this is made possible using ultralytics YOLOv5 models built with PyTorch (I highly recommend taking a look at their GitHub repository)
Question answering
The question answering bit currently comes from OpenAI's GPT3.
This is mainly for testing purposes and to see how viable using something like GPT3 is compared to training once's QA model. An added advantage for using GPT3 (still in beta) is the ease of integration and not having to do much model training. The downside though is the cost (for my case) hence the reason to switch to a distilled Bert model from hugging face (after fine-tuning). Also highly recommend checking out hugging face docs and GitHub repo
Using the completions endpoint from the openai docs:
The completions endpoint can be used for a wide variety of tasks. It provides a simple but powerful text-in, text-out interface to any of our models. You input some text as a prompt, and the model will generate a text completion that attempts to match whatever context or pattern you gave it.
Prompt design
We first show the model exactly what we want show and tell as openai calls it. This helps the model understand what is expected from it.
We then provide quality data to the model showing a given pattern, one reason for this is to have a more "intentional response".
Then finally configure the settings, the temperature, and top_p settings control how deterministic the model is in generating a response. In this case, we want a single right answer hence setting these to lower values. Check out the openai docs for further reading
The data
One major challenge was getting an already existing annotated dataset.
This meant building one from scratch by pulling images online and manually annotating them. Using the DuckDuckGo API(using Microsoft’s Bing Image Search API would have probably been better for this but it's paid and am working on a super low budget hence need to find an alternative), I pulled around 200 images per class, initially going for 16 classes of plant diseases but later reduced the number to 8 classes. This is due to the time needed to research a particular pathogen and annotate the images properly while discarding the irrelevant ones.
Annotations were done using makesense.ai a free online tool for labeling images built using react.
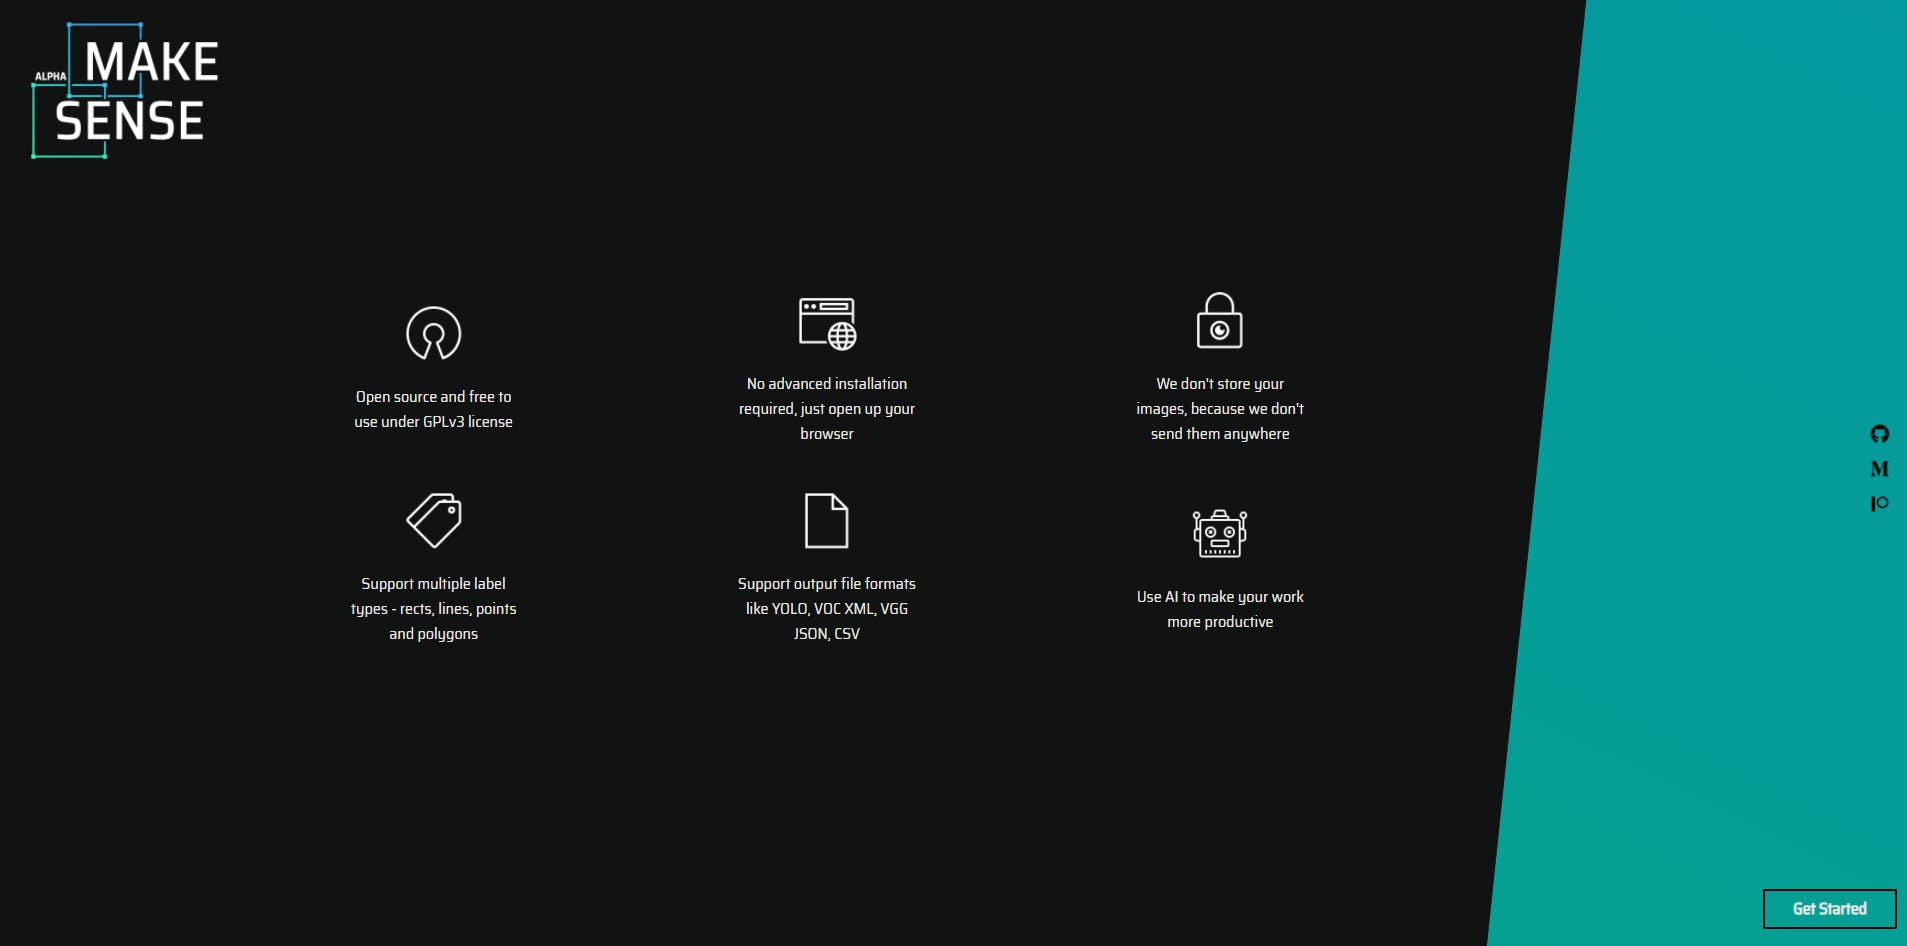 Once bounding boxes are drawn the labels can be downloaded as a zip file containing text files with the label number and the box coordinates.
Finally split the data into two sets, a training set and a validation set
import os
import random
import shutil
imgList = os.listdir("images")
random.seed(42)
# shuffling images
random.shuffle(imgList)
split = 0.2
train_path = "custom_dataset/train"
val_path = "custom_dataset/val"
if os.path.isdir(train_path) == False:
    os.makedirs(train_path)
if os.path.isdir(val_path) == False:
    os.makedirs(val_path)
imgLen = len(imgList)
train_images = imgList[: int(imgLen - (imgLen * split))]
val_images = imgList[int(imgLen - (imgLen * split)) :]
for imgName in train_images:
    og_path = os.path.join("images", imgName)
    target_path = os.path.join(train_path, imgName)
    shutil.copyfile(og_path, target_path)
    og_txt_path = os.path.join("labels", imgName.replace(".JPG", ".txt"))
    target_txt_path = os.path.join(train_path, imgName.replace(".JPG", ".txt"))
    try:
        shutil.copyfile(og_txt_path, target_txt_path)
    except Exception:
        pass
for imgName in val_images:
    og_path = os.path.join("images", imgName)
    target_path = os.path.join(val_path, imgName)
   shutil.copyfile(og_path, target_path)
    og_txt_path = os.path.join("labels", imgName.replace(".JPG", ".txt"))
    target_txt_path = os.path.join(val_path, imgName.replace(".JPG", ".txt"))
    try:
        shutil.copyfile(og_txt_path, target_txt_path)
    except Exception:
        pass
print("Done! ")
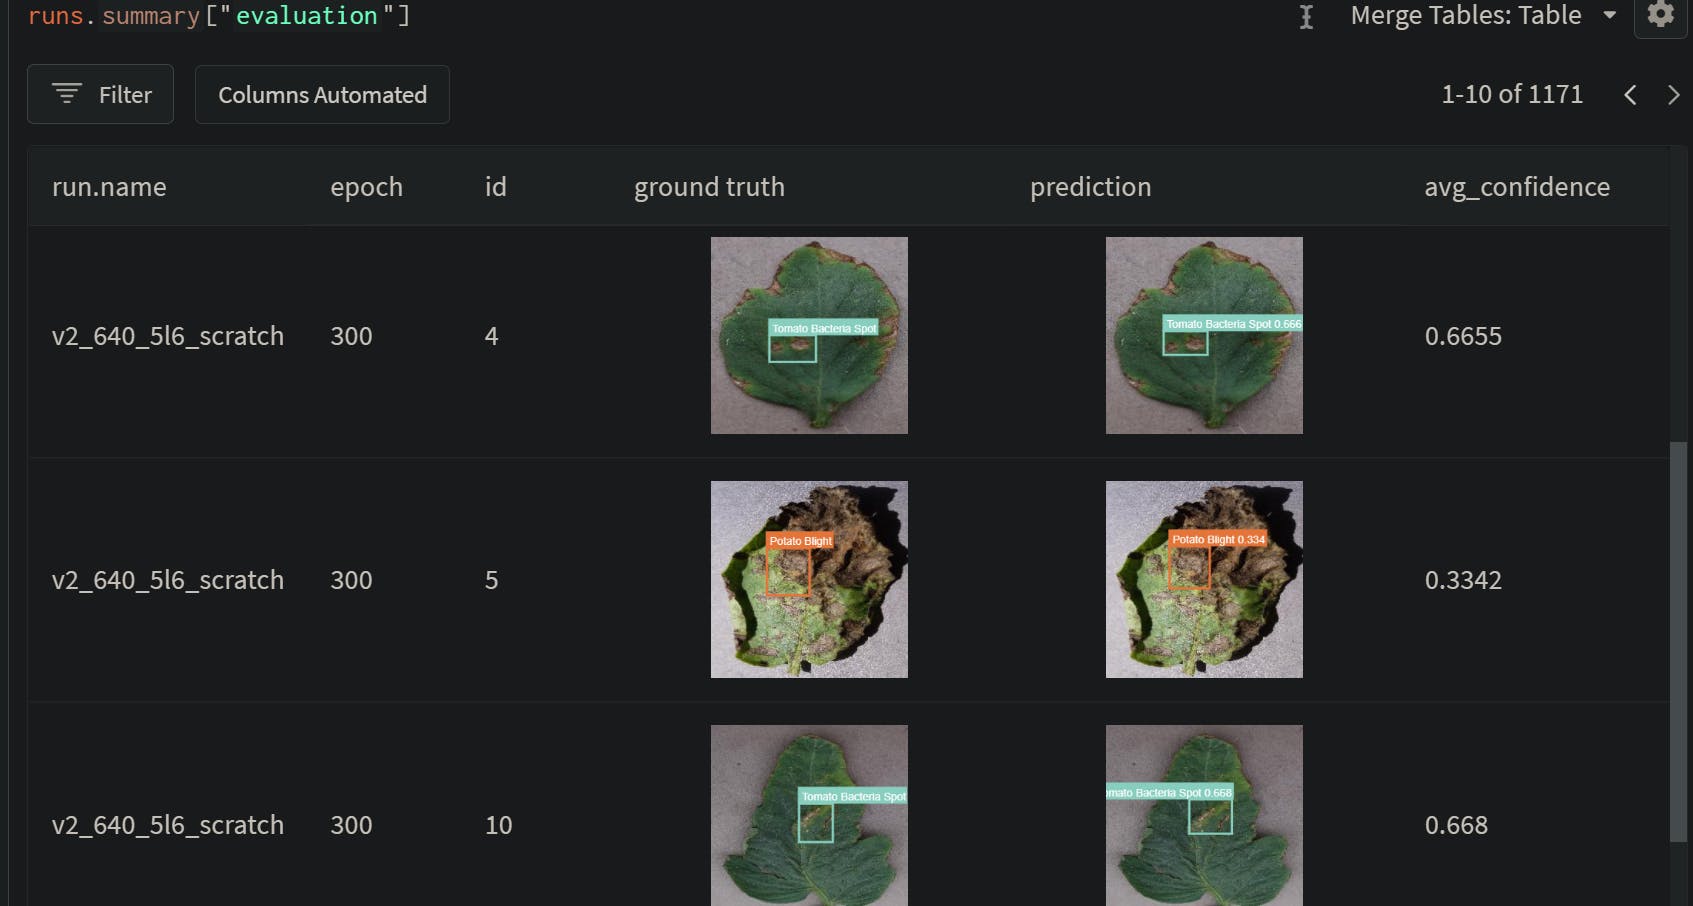
Once this is done, I went ahead and uploaded the whole dataset to Weights & Biases as an artifact.
Weights & Biases artifacts make dataset and model versioning straightforward, tables to go through the data including evaluation comparisons for prediction without requiring extra code.
An added advantage to pushing the data to Weights & Biases is the fact that now you can train your model from any computer, the dataset will be automatically pulled to the machine and all the run logs are automatically pushed to the project on the W&B.
Training the model
The model was trained using a single GPU(one v100 to be specific) instance from using GCP(Google cloud platform), using the below line
python train.py --data bocr/app/data/boc_labels_wandb.yaml --epochs 300 --project box_of_crayons --bbox_interval 1 --save_period 30 --weights yolov5m6.pt --batch 40 --artifact_alias v2 --cache --hyp bocr/app/trainer/data/hyps/hyp.scratch-p6.yaml
As seen passing the boc_labels_wandb.yaml as the data path uses the dataset from Weights & Biases.
# the boc_labels_wandb.yaml
names:
- Apple Scab
- Apple Cedar Rust
- Apple Frogeye Spot
- Maize Gray Leaf Spot
- Maize Leaf Blight
- Potato Blight
- Tomato Bacteria Spot
- Tomato Blight
nc: 8
train: wandb-artifact://box_of_crayons/train
val: wandb-artifact://box_of_crayons/val
Logging metrics with Weights & Biases
One advantage of using the yolov5 is it's already setup to log metrics using W&B, see this GitHub issue to learn more about it.
In a nutshell, the following run information is streamed to the W&B cloud console while the training job runs:
- Training & Validation losses
- Metrics: Precision, Recall, mAP@0.5, mAP@0.5:0.95
- Learning Rate over time
- A bounding box debugging panel, showing the training progress over time
- GPU: Type, GPU Utilization, power, temperature, CUDA memory usage
- System: Disk I/0, CPU utilization, RAM usage
- Your trained model as W&B Artifact
- Environment: OS and Python types, Git repository, and state, training command
Deployment
The dependencies for deployment are docker and docker-compose.
Docker can be installed by running
# Download Docker
curl -fsSL get.docker.com -o get-docker.sh
# Install Docker using the stable channel (instead of the default "edge")
CHANNEL=stable sh get-docker.sh
# Remove Docker install script
rm get-docker.sh
and docker-compose
sudo curl -L "https://github.com/docker/compose/releases/download/1.29.2/docker-compose-$(uname -s)-$(uname -m)" -o /usr/local/bin/docker-compose
Currently, these are the only dependencies unless you want to deploy the containers using Kubernetes(probably overkill but still fun to try out), an article for another time.
Self-hosted container registry (optional)
In my case, I also set up a self-hosted container registry.
The reason for this was to store most of the images built to use these with Kubernetes and rancher, these can also be replaced in the compose files with the images from the registry once they have been built.
The reason for not using the docker hub to host the images is the price constraint as well since the docker hub charges for privately hosted docker images. (and yes $5 per month is a lot depending on financial factors).
So a workaround for this is using an AWS free tier EC2 instance and combining that with S3 buckets. If you have AWS credits(which I happen to have) these can cover the cost of some of the limits exceeded.
Check my repo on hosting your own registry here.
Push to the instance using GitHub actions
All those are housed on a cheap VPS from contabo(4 core, 8Gb ram(yes it gets cheaper than digital ocean)), and thanks to GitHub actions the deployment to the VM can be automated.
This is achieved by using a GitHub action that executes remote SSH commands. (How secure this is when a repo is made public, I am not sure but using GitHub secrets might help a little bit with that). Check out this link to learn more.
What's next for Nebo?
- Keep improving the current dataset, the better the quality of the data the better the model performance.
- Do full documentation on the API, making it easy for other developers to use it.
- Try out new stripe integration (should be interesting)
- Keep trying out new things and keep experimenting.