
Photo by Fatih Kılıç on Unsplash
Mime - A dummy Django, PyTorch project.
Deploying a PyTorch Densenet121 model using Django


What is this?
This is me goofing around and trying to learn some Django the only way there is, (by attempting to build something and combining it with a bunch of other things I know or have come across).
About
This is a Django-based "web app" that uses a Densenet 121 model trained to classify 6 classes of objects.
The Classes
- Potholes
- Dumping
- Accidents
- Flooded
- Bad drainage
- Construction
Data
The data was got from Duckduck go using jmd_imagecraper
Steps to replicate
- Install
jmd_imagescraper. This is an image scraping library for creating deep learning datasets. Follow (this link)[github.com/joedockrill/jmd_imagescraper] to check out the Github repo.
- Imports and download directory
from jmd_imagescraper.core import *
from pathlib import Path
root = Path().cwd() / "images"
This imports and the necessary packages needed and sets the image download directory to the images directory.
The directory gets automatically created so no need to worry about that.
- Getting some data These are the classes I was interested in at the time (for no reason at all, so no why) but can be used to get different image classes, just swap out the image names.
mime = {
    'Potholes':'road potholes',
    'Dumping':'dump sites littering',
    'Accidents':'road accident',
    'Flooded':'flooded roads',
    'Bad drainage':'bad drainages roads',
    "Construction", "Road under construction, construction sites",
}
for key, value in mime.items():
    duckduckgo_search(root, key, value, max_results=120)
The duckduckgo_search function takes in a directory, the name of the image folder, the value to search for and how many images do you want. Then searches for the images and downloads them, making using torchvision's image folder a breeze, no writing custom data loaders, etc (unless you want to).
- Data cleaning Another cool feature from this is the image cleaner. Just load the images and go through the classes and remove the images that don't meet your criteria. Makes getting rid of unwanted images pretty easy.
from jmd_imagescraper.imagecleaner import *

display_image_cleaner(root)
Training
As this was trained on a simple small dataset (don't get me wrong, the performance is pretty good), the generalization might not be that great.
Now with that out of the way let's look at some code snips.
The training repo
All this can be found in this repo.
Simply follow the getting started part of the README and you should be up running.
The data loader
Since the different image classes are stored in their respective folders, we just use the folder names as the classes. Using torchvision's image folder method makes this pretty straightforward.
# The base class can be swapped with the `torch.utils.data.DataLoader` class
class AjimeDataLoader(BaseDataLoader):
    """AjimeDataLoader"""

    def __init__(
        self,
        data_dir,
        batch_size,
        shuffle=True,
        validation_split=0.2,
        num_workers=4,
        training=True,
    ):
        trsfm = transforms.Compose(
            [
                transforms.Resize((224, 224)),
                transforms.ToTensor(),
                transforms.Normalize(
                    mean=[0.485, 0.456, 0.406], std=[0.229, 0.224, 0.225]
                ),
            ]
        )
        self.data_dir = data_dir
        self.dataset = datasets.ImageFolder(data_dir, transform=trsfm)
        super().__init__(
            self.dataset, batch_size, shuffle, validation_split, num_workers
        )
Load the data from the data directory, apply some transforms, and voila. Using a validation split of 20% percent of the data for the validation steps.
If using a CPU with less than 4 cores just set the
num_workersto the number of your CPU cores.
The model
The model used is a pretrained Densenet 121 model.
Why Densenet121?
It's never disappointed me, it's small and pretty straightforward to work with. (Note: they are other better model architectures)
# Densenet Model
class AjimeModel(BaseModel):
    def __init__(self):
        super().__init__()
        self.model = torchvision.models.densenet121(pretrained=True)
        for param in self.model.features.parameters():
            param.requires_grad = False
        self.model.classifier = nn.Sequential(
            nn.Linear(1024, 512), nn.Dropout(0.2), nn.ReLU(), nn.Linear(512, 6)
        )

    def forward(self, x):
        return self.model(x)
torchvision.models.densenet121(pretrained=True) is responsible for downloading the model.
Then freeze the feature parameters, and replace the classifier with an output of 6 classes, and we are ready to train.
The training loop
The training loop is just the usual vanilla PyTorch training loop as seen in this snip.
 for batch_idx, (data, target) in enumerate(pbar):
            data, target = data.to(self.device), target.to(self.device)

            self.optimizer.zero_grad()
            output = self.model(data)
            loss = self.criterion(output, target)
            loss.backward()
            self.optimizer.step()

            self.writer.set_step((epoch - 1) * self.len_epoch + batch_idx)
            self.train_metrics.update("loss", loss.item())
            for met in self.metric_ftns:
                self.train_metrics.update(met.__name__, met(output, target))
            if batch_idx % self.log_step == 0:
                pbar.set_postfix(
                    {
                        "Train Epoch": epoch,
                        "Train Loss": loss.item(),
                    }
                )
                self.writer.add_image(
                    "input", make_grid(data.cpu(), nrow=8, normalize=True)
                )

            if batch_idx == self.len_epoch:
                break
Some training logs:
2021-12-12 12:49:45,955 - trainer - INFO -     epoch          : 14
2021-12-12 12:49:45,956 - trainer - INFO -     loss           : 0.2260482641203063
2021-12-12 12:49:45,956 - trainer - INFO -     accuracy       : 0.9285714285714286
2021-12-12 12:49:45,957 - trainer - INFO -     top_k_acc      : 1.0
2021-12-12 12:49:45,957 - trainer - INFO -     val_loss       : 0.8062299564480782
2021-12-12 12:49:45,958 - trainer - INFO -     val_accuracy   : 0.78125
2021-12-12 12:49:45,958 - trainer - INFO -     val_top_k_acc  : 0.953125
2021-12-12 12:49:46,146 - trainer - INFO - Saving checkpoint: saved/models/ajime/1212_124412/checkpoint-epoch14.pth ...
2021-12-12 12:49:46,390 - trainer - INFO - Saving current best: model_best.pth ...
Deployment
All the code for this is also in this repo simply follow the README to get you set up.
Using cookie-cutter Django for this was a bit overkill.
Getting started
Dependencies
- Docker and docker-compose
For windows download docker desktop and that should get sorted out.
# Linux
# Download Docker
curl -fsSL get.docker.com -o get-docker.sh
# Install Docker using the stable channel (instead of the default "edge")
CHANNEL=stable sh get-docker.sh
# Remove Docker install script
rm get-docker.sh

# Docker compose
sudo curl -L "https://github.com/docker/compose/releases/download/1.29.2/docker-compose-$(uname -s)-$(uname -m)" -o /usr/local/bin/docker-compose
- Clone the repository (if you haven't already)
Using recursive to include the submodule repo in the cloned directory.
git clone --recursive https://github.com/mrdvince/mime
cd mime
- Running it
Once cloned is done simply use docker to run it and everything should just work. The model is included in the ajime submodule, can be retrained or completely swapped out if needed.
# This should get you up and running
docker-compose -f local.yml up -d --build
Settings
Setting Up Your Users
To create a normal user account, just go to Sign Up and fill out
To create an superuser account, use this command:
python manage.py createsuperuser
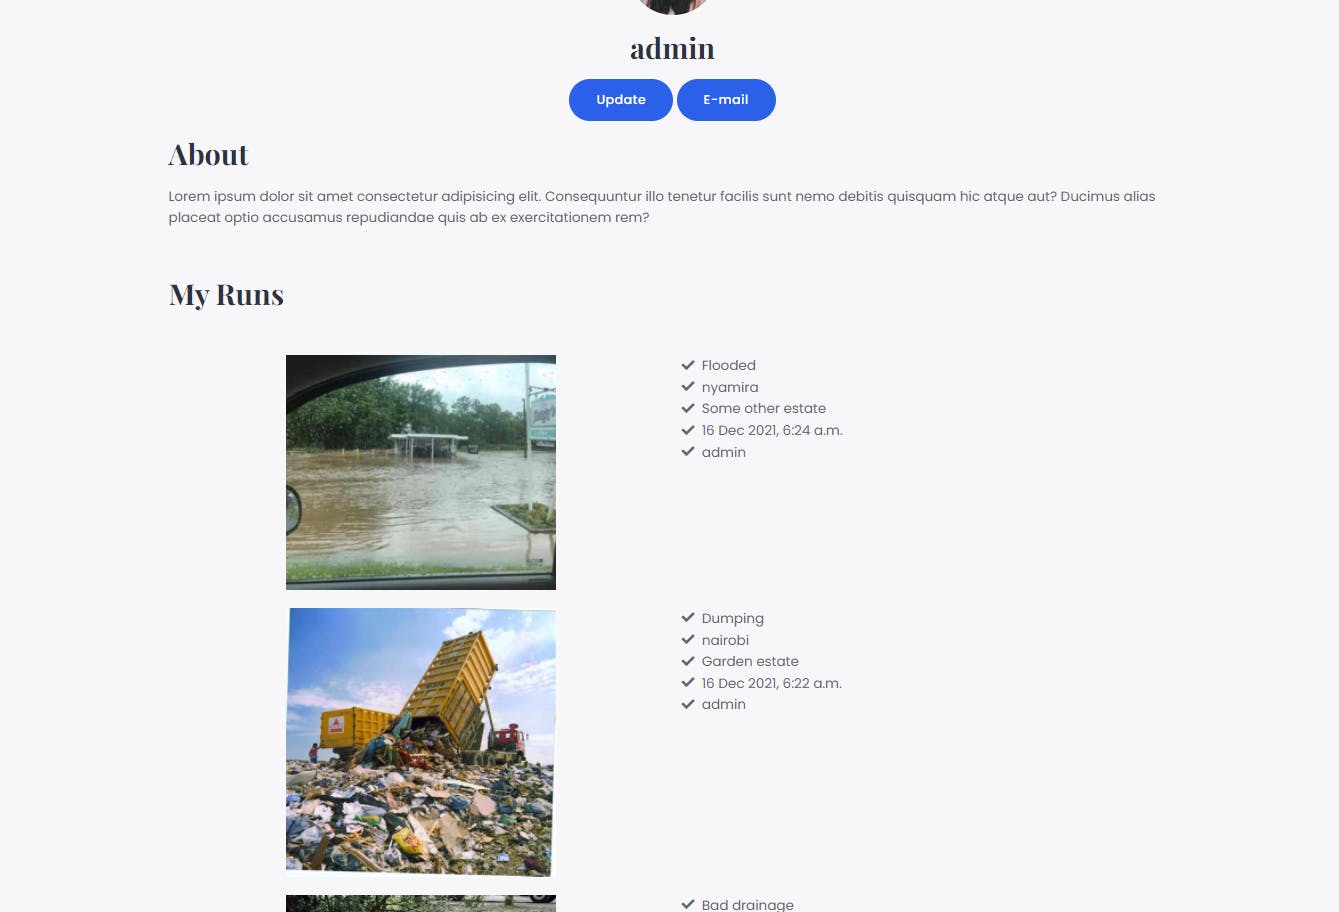
Some screenshots